Tuesday, February 18, 2014

Another One Kick Wonder

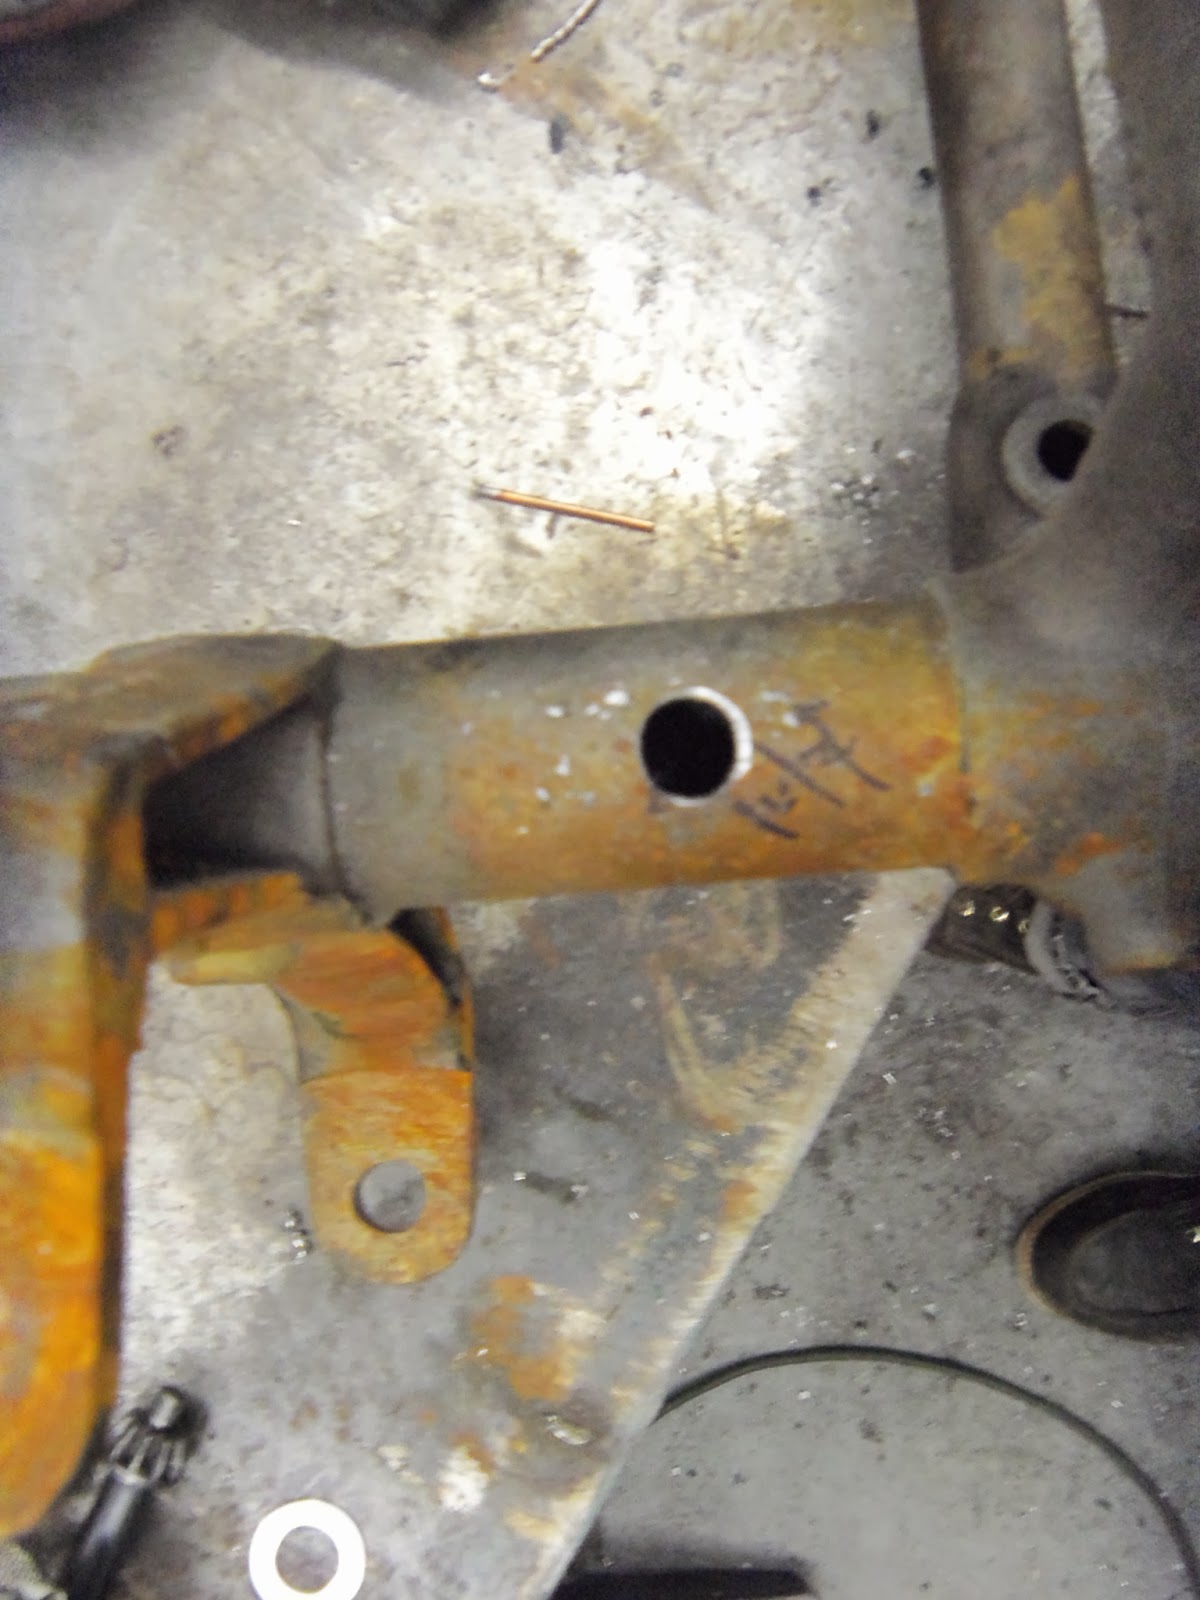
The "Twisted Monkey" Triumph is out the door and back to it's happy owner! This beautiful beast came to Ace Cycle in boxes. No bolt left here untouched. We did a complete engine rebuild including balancing the crank. Absolutely necessary for a smooth ride. It has been completely rewired with a modern ignition system. This bike doesn't just look pretty, it runs perfect too. All mechanical, fabrication, paint and leather work were done in house. That's what we call quality control!
Stay tuned for upcoming posts with the complete stats on the bike.


Tuesday, February 11, 2014

The 1 Moto Show

We are back from our icy Portland adventure. Even with the bad weather, the 1 Moto Show was well worth the treacherous travel. This was by far the best, most diverse, motorcycle/ art show we have ever attended. Thanks to Thor for the builder invite. It was a great privelege to display our bikes there. If you ever have the chance to go to this show, do it! There was so much to be inspired by.
 Setting up our builds, the Britster and the Twisted Monkey.


Art, fun and function!
Check out the site for the show:  http://the1moto.com/
https://www.facebook.com/theOneMotorcycleShow

Tuesday, February 4, 2014

Man it has been awhile since the last update . We did finish the long rod Norton engine and will have a video of it running soon .
We have been super busy trying to get two bike ready for #the1moto show in Portland


Wednesday, December 4, 2013

 Back to the Long Rod Norton motor . Same as all engine rebuilds you must clean those cases . I also deburred all holes and stoned the surfaces flat . Checked all thread condition . This should be done prior to reassembling the engine .


  The crank was taken apart to clean the sludge trap . While apart stone down the surfaces for a nice flat contact when going back together . This is a good time to polish the crank if you are going to that level . After reassembly make sure it is true . If there is a burr or deri on the surface between the flywheel and journal the main shafts will not be inline . I also check to make sure the balance factor is correct .


 Install new plain bearings and check for clearance . I measure the rod bolts before installing them . then make sure they stretch the correct amount . Proper bolt stretch makes the tensile strength correct . I always use new rod bolts from a known manufacturer . I have heard lots of guys say they reuse the bolts but I don't trust that and it is a cheap insurance practice .


C


Monday, December 2, 2013

Wiring is the killer of a clean motorcycle .
      To fix this most guys run the wire in the frame . The big issue there is they usually don't do it before they paint the bike or they drill small holes for single wire . This has never looked right to me so I do it my own way as follows.

 1 drill hole for wire to go through . I lay out my wire plan during fab then do all this work after tear down .
 2. The next step id to tack a washer and hammer it down for a nice tight fit .
 3. Weld all the way around the washer inside and out . When you weld the inside it burns out any burrs left in the hole .
 4. On this bike there was lots of wasted space under the tank so that is where most of the electrical is hidden .
 5. The fairing supports where cut off to fit a springer . It made for a great place to run the wire through . Just welded a washer around the hole first .
Once this is back from powder coat you will see how finished it makes the bike look . Remember the DEVIL IS IN THE DETAILS !

Thursday, November 21, 2013

The T120 before it came apart for powder coat . Soon we should have pics of the sheet metal painted and seat leather work done .

Tuesday, November 19, 2013


Here are some other pictures my friend Asa took from http://www.asagilmore.com/agphoto/ . He is one of the best photographers I know .
Yes we know the headlight is off to one side !!